A Beginner Guide to Watercolor Washes and Gradients
Watercolor washes form the foundation of many watercolor techniques. Understanding how to create even flat washes and smoothly graded washes allows artists to build backgrounds, skies, and atmospheric effects. This guide explores the methods and materials that support these techniques, with a focus on practice exercises that help develop control over paint consistency, brush handling, and paper absorbency. The process of applying a wash involves preparing the right mixture of pigment and water, selecting appropriate brushes, and working with the paper’s surface properties.
For beginners, the goal is not to achieve perfection but to become familiar with how water and pigment interact on different paper textures. Each type of wash serves a distinct purpose and can be adapted for various subjects. By approaching these exercises with patience and observation, artists can gradually build a reliable sense of how much water and pigment are needed for each wash.
This article covers the two primary wash types—flat and graded—and provides step-by-step descriptions of the painting process. It also includes targeted exercises that reinforce muscle memory and help manage common challenges such as blooms and uneven transitions.
Understanding Watercolor Washes
A watercolor wash is a layer of diluted pigment applied broadly across a surface. Washes can be classified into three main categories: flat, graded, and variegated. A flat wash delivers a uniform tone across the entire area, while a graded wash transitions smoothly from a denser concentration of pigment to a lighter one. Variegated washes involve two or more colors flowing into one another, creating soft blends. Each type relies on the same principle: the gradual evaporation of water leaves pigment particles deposited on the paper fibers, forming the final tone.
The key variables in any wash are the water-to-paint ratio, the absorbency of the paper, the angle of the painting surface, and the speed of the brushstroke. A flat wash requires consistent dilution and even application, whereas a graded wash demands a deliberate change in pigment concentration as the brush moves across the paper. Understanding these variables helps artists predict how the wash will dry and whether backruns or uneven patches are likely to occur.
Materials and Their Role
The choice of materials influences the behavior of a wash. Paper weight and surface texture affect how quickly water is absorbed and how evenly pigment disperses. Cold-pressed paper, with its slight tooth, is often a practical starting point because it absorbs water at a moderate rate, giving the artist time to work without excessive pooling. Brands such as Art Spectrum offer cold-pressed papers that are commonly recommended for beginners due to their balanced absorbency and durability under repeated washes.
Round brushes are well suited for washes because their pointed tips hold a good volume of water and retain shape during long strokes. A brush size between 10 and 14 is typically used for moderate-sized washes, while larger round brushes can cover wider areas. Paint quality also matters: artist-grade pigments contain finer particles that flow more evenly, while student-grade paints may produce grainier washes. The goal is to use materials that allow consistent results without adding unnecessary variables.
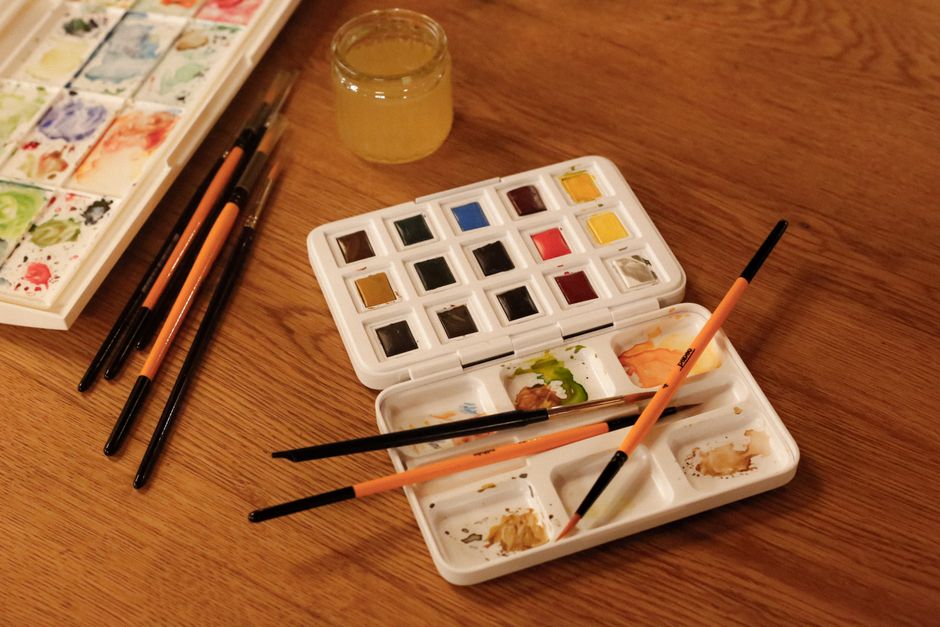
Other helpful tools include a palette with deep wells for mixing ample quantities of paint, a water container for rinsing, and a board that can be tilted at a slight angle. A tilt—usually between 15 and 30 degrees—encourages water to flow downward, which is essential for graded washes and helps prevent blooms in flat washes.
Preparing Paint and Workspace
Before applying a wash, the paint must be mixed to the right consistency. For a flat wash, the mixture should be even and free of lumps. A common method is to fill a brush with clean water, then mix it with pigment in a palette well until the color is uniform and the consistency resembles that of light cream. For a graded wash, it is helpful to prepare two or more mixtures with different pigment concentrations—one darker, one lighter—so that the transition can be managed during application.
The workspace should allow the paper to lie flat or tilted without movement. A piece of scrap paper nearby is useful for testing the color and flow before starting the wash. Wetting the paper beforehand is not required for all washes, but a pre-wet surface can help achieve softer edges when needed. For the exercises described in this guide, working on dry paper is recommended to build precise control over the brushstroke.
How to Paint a Flat Wash
To paint a flat wash, begin by mixing enough paint to cover the intended area. A common mistake is mixing too little, which causes uneven drying when the brush has to reload. Load a round brush generously with the mixture, then apply a horizontal strip across the top of the paper. The brush should touch the paper lightly, letting the bead of paint form at the bottom edge of the stroke. Tilt the board slightly—just enough to let the bead flow downward.
Reload the brush with the same mixture and apply the second strip overlapping the bottom bead of the previous stroke. Continue this process, working downward, always maintaining a bead of paint at the edge. The key is consistency: every stroke should carry the same amount of paint and water. If the bead breaks or runs back, it may indicate that the brush was not reloaded enough or that the board tilt is too steep. Practice with small areas first, such as a rectangle of two or three inches, to develop a feel for the rhythm.
After the wash is complete, allow it to dry without disturbing the board. Uneven drying can cause blooms if water pools unevenly. A flat wash should dry to a uniform tone if the paint mixture and application were consistent throughout.
How to Paint a Graded Wash
A graded wash transitions from a dense tone to a lighter tone (or the reverse). Start by mixing a dark mixture and a lighter mixture in separate palette wells. Apply the first strip using the dark mixture, then before the bead dries, dip the brush partially into the light mixture and continue the stroke. Each subsequent strip gradually adds more of the light mixture and less of the dark. The transition should be gradual, so it helps to blend the mixtures on the palette before applying them to the paper.
The board tilt is more critical in graded washes because gravity assists the flow of lighter, water-diluted paint downward. Work from the top downward for a dark-to-light gradient. For a light-to-dark gradient, reverse the direction and tilt the board opposite. Practice on scrap paper to find the right balance of water and pigment. If the gradient appears abrupt, the paint may be drying too quickly; a slight spray of water on the paper before starting can extend the working time.
Graded washes are commonly used for skies, water reflections, and backgrounds where depth is needed. The controlled variation in tone can create an illusion of distance without hard edges.
Practice Exercises for Smooth Transitions and Controlled Blooms
Repetition helps develop muscle memory for wash application. One effective exercise is to paint a series of flat washes in small rectangles, each one slightly larger than the previous, aiming for uniform tone across each shape. This builds control over brush loading, stroke pressure, and pacing. Another exercise involves painting a graded wash from very dark to very light, then repeating it with the reverse gradient. Comparing the two results reveals how the direction affects the gradient slope.
Controlled blooms can be introduced intentionally by applying a drop of water to a still-wet wash. The water pushes pigment outward, creating a softened edge. This technique is useful for adding texture or cloud-like shapes. To practice, paint a small flat wash and, while it is still glossy, touch the surface with a clean, damp brush tip. Observe how the pigment moves. The degree of control depends on the wetness of the wash and the amount of water added. Over time, artists learn to predict the resulting shape and can incorporate blooms into compositions without causing unintended runs.
These exercises are best repeated over several sessions, varying paper types and brush sizes. Keeping a record of the paint mixtures and room conditions—such as humidity and temperature—can offer insights into how external factors affect drying time. The aim is not to achieve perfect washes every time, but to understand the variables that influence each wash, so that adjustments can be made in future work.